The Ultimate Guide to Driveway Sealing: Protecting Your Investment
Introduction to Driveway Sealing
Driveway sealing is an essential maintenance task that helps protect your driveway from the elements, prolonging its lifespan and maintaining its appearance. Whether your driveway is made of asphalt or concrete, sealing it can prevent damage from weather, chemicals, and regular wear and tear.
Understanding the importance of this process is crucial for homeowners who want to protect their investment. In this guide, we will explore the benefits of driveway sealing, how often it should be done, and the steps involved in a successful sealing project.

Why Seal Your Driveway?
Sealing your driveway offers several advantages. Firstly, it acts as a protective barrier against moisture, which can seep into the surface and cause cracks during freeze-thaw cycles. Secondly, it protects against harmful UV rays that can fade the surface and weaken its structure over time.
Additionally, sealing prevents stains from oil, gasoline, and other chemicals that can degrade the driveway material. By investing in regular sealing, you ensure your driveway remains strong, safe, and visually appealing.
Frequency of Sealing
The frequency of sealing depends on several factors, including the type of material used for your driveway and the climate in your area. As a general rule of thumb, asphalt driveways should be sealed every 2-3 years, while concrete driveways may require sealing every 3-5 years. However, it's always best to inspect your driveway annually for signs of wear.

The Sealing Process
Sealing a driveway involves several steps to ensure a durable and long-lasting result. Here's a breakdown of the typical process:
- Cleaning: Thoroughly clean the surface to remove dirt, debris, and stains. This may involve power washing or using specialized cleaning solutions.
- Repairing: Fill any cracks or holes with appropriate filler materials. This step is crucial for preventing further damage.
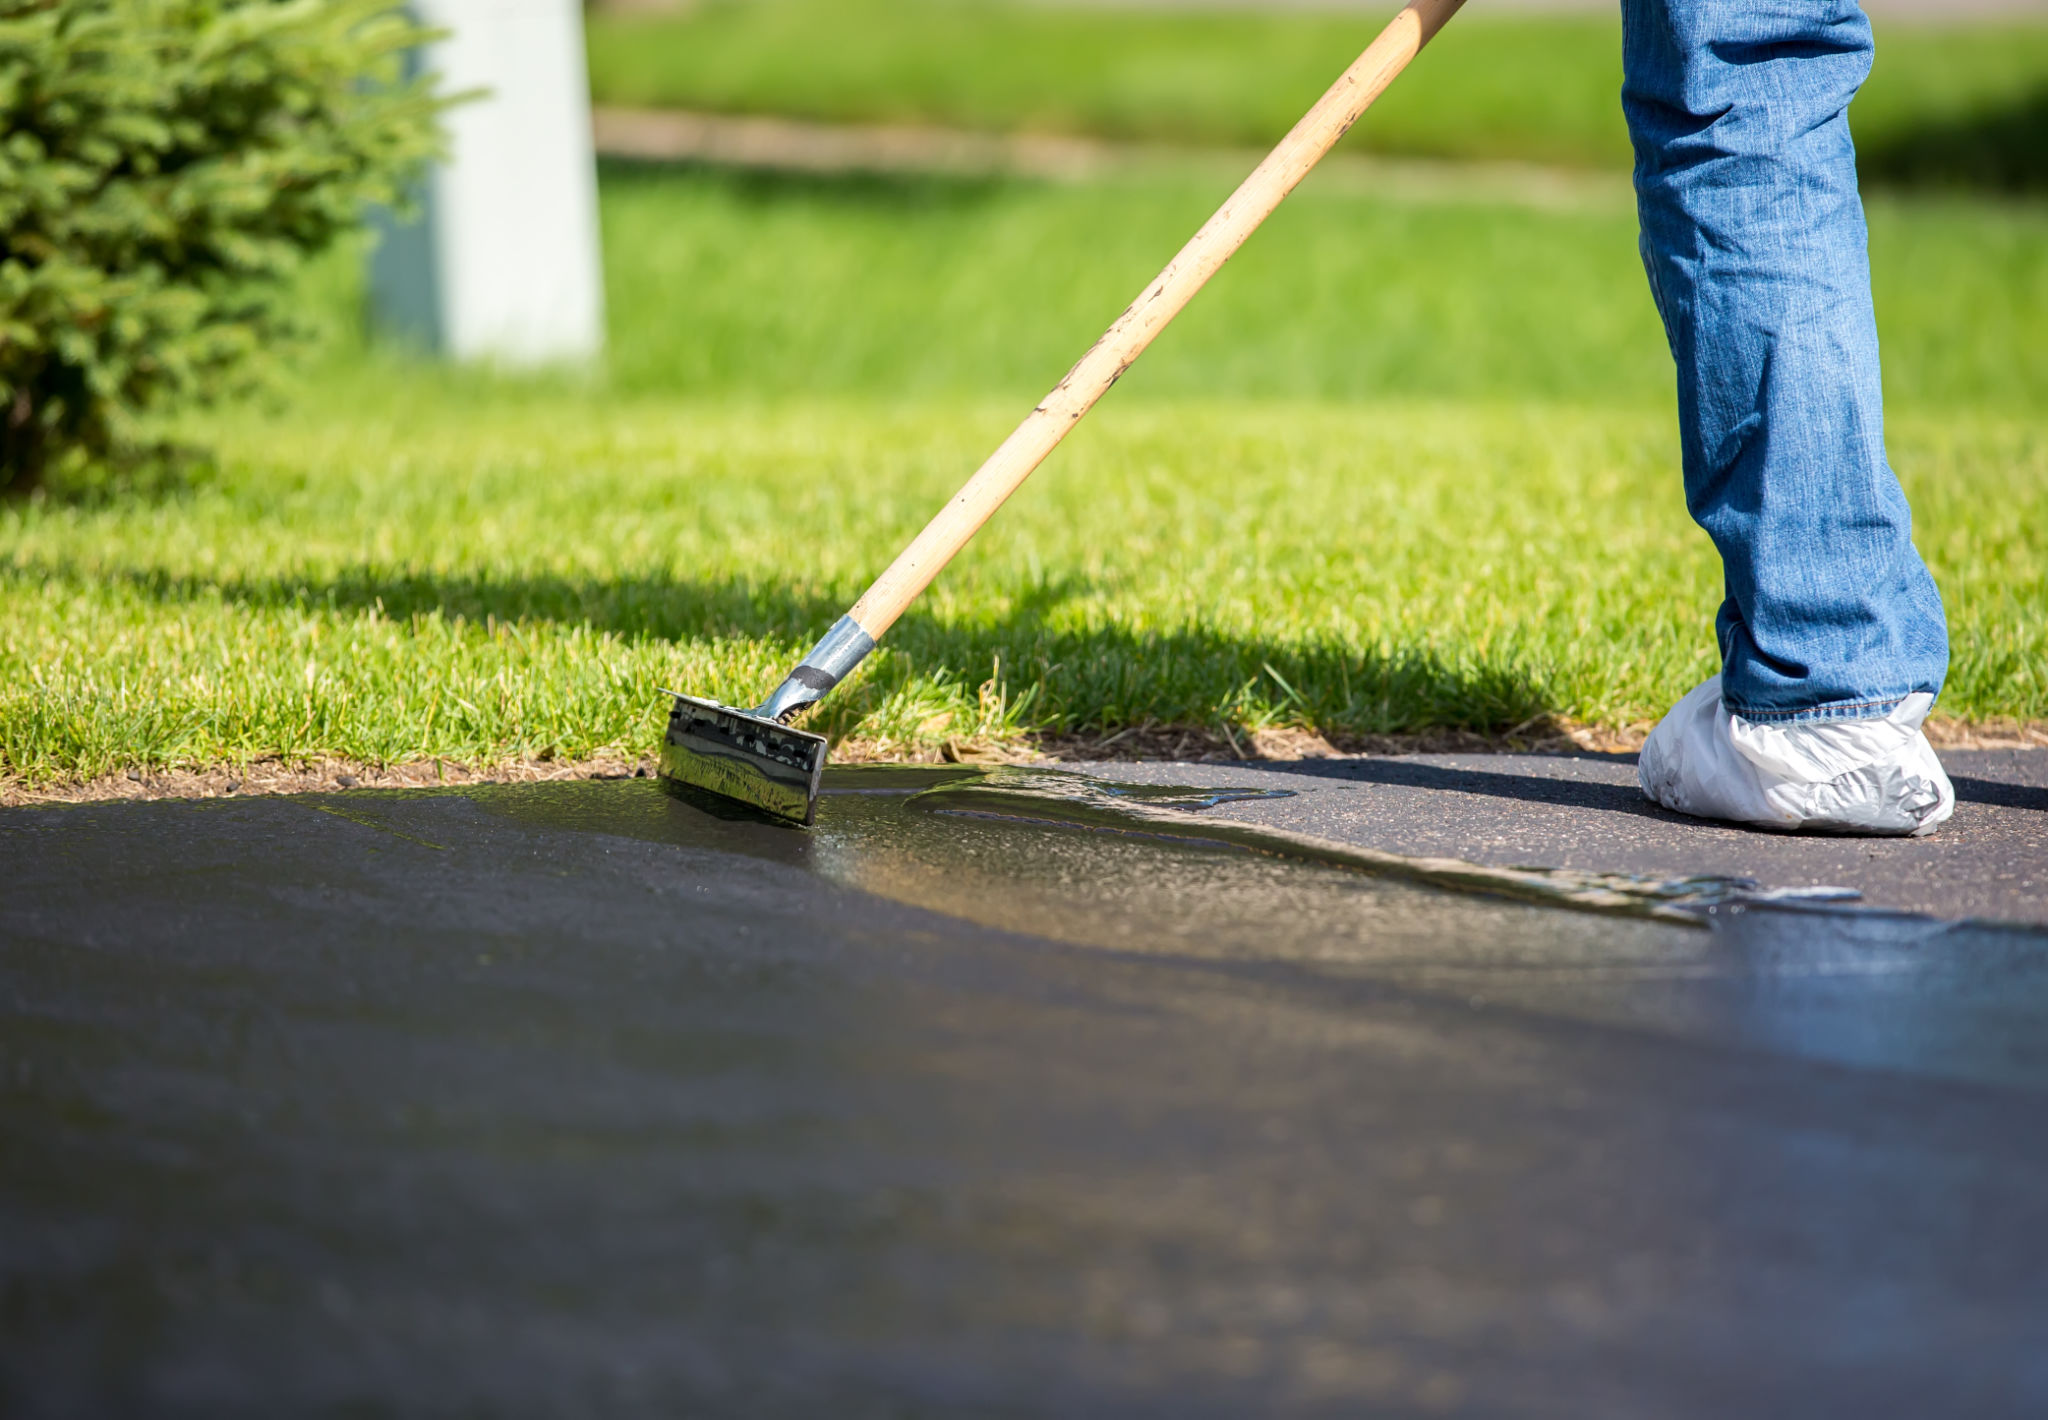
- Applying Sealant: Once the surface is clean and dry, apply a quality sealant using a roller or squeegee. Ensure even coverage for the best protection.
- Curing: Allow the sealant to cure completely before using the driveway. This typically takes 24-48 hours, depending on weather conditions.
Choosing the Right Sealant
Choosing the right sealant is vital for effective protection. For asphalt driveways, you'll typically use an asphalt-based sealant. For concrete driveways, acrylic or epoxy-based sealants are often recommended. Consider factors such as durability, weather resistance, and ease of application when selecting a product.

DIY vs. Professional Sealing
While DIY driveway sealing can save money, hiring professionals ensures high-quality results with minimal hassle. Professionals have access to commercial-grade products and equipment that can enhance the effectiveness of the sealing process. Additionally, they can quickly identify and address any issues during the preparation stage.
If you choose to tackle the project yourself, ensure you have all necessary tools and follow instructions carefully to avoid common pitfalls such as uneven application or inadequate drying time.
Conclusion
Driveway sealing is a valuable investment in maintaining your home's curb appeal and structural integrity. By understanding the benefits and process of sealing, you can make informed decisions about when and how to protect your driveway. Whether you opt for DIY or professional services, regular maintenance will ensure your driveway remains in top condition for years to come.